How To Personalize A Water Bottle With Cricut
CrystalAnn・19 minutes read
Crystal creates personalized water bottles using Dollar Tree supplies, including adhesive and cursive names in light pink and purple. She uses Design Space to select fonts, adjusts spacing, aligns letters, welds them together, cuts vinyl with a Cricut machine, and applies names to bottles with adhesive, highlighting the ease of crafting with Cesar vinyl and Dollar Tree items.
Insights
- Crystal is utilizing Dollar Tree water bottles in a DIY project to create personalized Christmas gifts by adding cursive names in light pink and purple colors, showcasing attention to detail in font selection and alignment.
- The text provides a comprehensive guide on using Cricut machines and Cesar vinyl for crafting, emphasizing the meticulous process of cutting, weeding, and applying vinyl designs to water bottles, underscoring the affordability and sentimentality of personalized gifts created through this method.
Get key ideas from YouTube videos. It’s free
Recent questions
How does Crystal personalize Dollar Tree water bottles?
Crystal personalizes Dollar Tree water bottles by adding adhesive and names in cursive as Christmas gift ideas. She selects light pink and purple colors for the project and chooses fonts like Watermelon, Autumn in November, and Unicorn Calligraphy from Design Space. Crystal adjusts letter spacing and alignment for each name to ensure they look cohesive, then welds the letters together for a smooth finish. She measures the names to be cut on vinyl at 6.5 inches in length, cuts the vinyl pieces using a paper trimmer, loads them onto a blue mat, and cuts the names using a Cricut machine. After weeding the excess vinyl, Crystal applies the names to the water bottles using adhesive.
What materials are needed for Crystal's DIY project?
For Crystal's DIY project of personalizing Dollar Tree water bottles, she requires Dollar Tree water bottles, adhesive, vinyl in light pink and purple colors, fonts from Design Space like Watermelon, Autumn in November, and Unicorn Calligraphy, a paper trimmer, a Cricut machine, a blue mat, contact paper for applying the vinyl designs, and Cesar vinyl for crafting. Additionally, alcohol is needed for cleaning the water bottles to ensure proper adhesion of the vinyl designs.
How does Crystal ensure the vinyl names look cohesive?
To ensure the vinyl names on the water bottles look cohesive, Crystal adjusts the letter spacing and alignment for each name. She carefully selects fonts that complement each other, such as Watermelon, Autumn in November, and Unicorn Calligraphy, and welds the letters together for a smooth finish. By measuring the names to be cut at 6.5 inches in length and using a consistent color scheme of light pink and purple, Crystal maintains a cohesive look throughout the project.
What is the significance of weeding the excess vinyl?
Weeding the excess vinyl is a crucial step in Crystal's DIY project of personalizing water bottles. By removing the excess vinyl after cutting the names using a Cricut machine, Crystal ensures that only the intended design remains on the vinyl pieces. This process helps in achieving clean and precise vinyl designs that can be smoothly applied to the water bottles. Weeding also allows for better visibility of the final design and ensures that the names stand out effectively against the background colors of the bottles.
Why does Crystal clean the water bottles with alcohol?
Crystal cleans the water bottles with alcohol before applying the vinyl designs to ensure proper adhesion. By removing any dirt, oils, or residues from the surface of the bottles, the alcohol cleaning process creates a clean and smooth surface for the adhesive to stick to effectively. This step is essential in ensuring that the vinyl names securely adhere to the bottles without any peeling or lifting over time. Cleaning with alcohol helps in maximizing the longevity and durability of the personalized water bottles as Christmas gift ideas.
Related videos

Daisy Multifacetica
How to Personalize Skinny Tumblers with Cricut | How to Apply Permanent Vinyl to Tumblers.

Jennifer Maker
DIY Easy Personalized Wine Glasses with Vinyl and a Cricut - For Beginners!
Seapanda Crafts
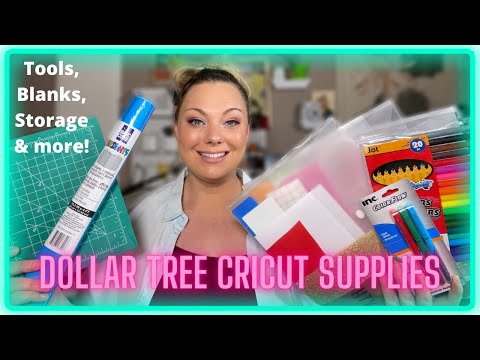
THE BEST DOLLAR TREE CRICUT SUPPLIES | TOOLS, BLANKS AND MORE!
The Craft Scraps
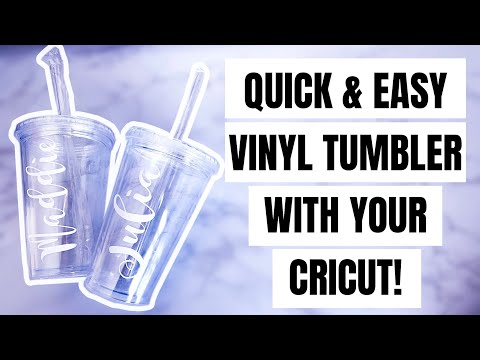
HOW TO MAKE A VINYL PLASTIC TUMBLER WITH YOUR CRICUT | EASY GIFT IDEA!

Makers Gonna Learn
😳DOES DOLLAR TREE VINYL EVEN WORK? - This might surprise you... 😳


Summary
00:00
DIY Christmas Gifts: Personalized Water Bottles
- Crystal is using Dollar Tree water bottles for a DIY project.
- She plans to add adhesive and names in cursive to the bottles as Christmas gift ideas.
- Crystal selects light pink and purple colors for the project.
- She goes to Design Space to choose fonts for the names, opting for Watermelon, Autumn in November, and Unicorn Calligraphy.
- Crystal adjusts letter spacing and alignment for each name to ensure they look cohesive.
- She demonstrates how to weld the letters together for a smooth finish.
- Crystal measures the size of the names to be cut on vinyl, aiming for 6.5 inches in length.
- She cuts the vinyl pieces to the required size using a paper trimmer.
- Crystal loads the vinyl onto a blue mat and cuts the names using the Cricut machine.
- After weeding the excess vinyl, Crystal applies the names to the water bottles using adhesive.
13:14
Crafting Personalized Water Bottles with Cesar Vinyl
- The text discusses using Cesar vinyl for crafting, highlighting the ease of cutting with regular vinyl settings on a Cricut Maker.
- It details the process of weeding the vinyl designs and preparing water bottles by cleaning them with alcohol to ensure proper adhesion.
- Instructions are given on applying the vinyl designs to the water bottles using contact paper, emphasizing the importance of centering and smoothing out the vinyl.
- The text also mentions the option to order items in bulk from Dollar Tree for crafting supplies, and suggests these personalized water bottles as affordable and thoughtful gift ideas.


