EASIEST DIY CRAFT | DIY WATER BOTTLE WITH VINYL AND YOUR CRICUT!
The Craft Scraps・10 minutes read
To create a custom water bottle, you'll need 651 vinyl and transfer tape, upload SVG images, adjust colors, size the design, cut vinyl mats, weed out excess vinyl, clean the surface, apply designs, and allow to cure for 24 hours before use. Handwash and avoid soaking, microwaving, or dishwashing for longevity.
Insights
- The process of creating a custom water bottle involves using specific materials like vinyl and transfer tape, with detailed steps in Cricut Design Space to customize the design and apply it accurately to the bottle.
- After completing the design and application, it is crucial to let the vinyl cure for 24 hours, follow proper care instructions like handwashing, and avoid harsh conditions such as soaking, microwaving, or dishwashing to maintain the longevity and quality of the custom water bottle.
Get key ideas from YouTube videos. It’s free
Recent questions
How do I create a custom water bottle design?
To create a custom water bottle design, you will need 651 vinyl and transfer tape. Start by uploading SVG images from Auntie Tay's website to Cricut Design Space. Ungroup the images, select the desired design, and adjust colors. Change colors in Design Space to indicate which vinyl to use for each part of the design. Size the design to fit your water bottle, save the project, and proceed to cutting on different colored vinyl mats. Load the vinyl mats into the Cricut machine, set the material to vinyl, and cut the designs. Weed out the excess vinyl, clean the water bottle surface with rubbing alcohol, and apply the vinyl designs using transfer tape. Allow the design to cure for 24 hours before using, ensuring handwashing and avoiding soaking, microwaving, or dishwashing for longevity.
What materials are needed for custom vinyl designs?
To create custom vinyl designs, you will need 651 vinyl and transfer tape. These materials are essential for crafting personalized designs on various items such as water bottles, wine glasses, or tumblers. The vinyl is used to cut out the designs, while the transfer tape helps in applying the designs accurately onto the desired surface. By having these materials on hand, you can unleash your creativity and customize everyday items to reflect your unique style.
How do I apply vinyl designs to a water bottle?
Applying vinyl designs to a water bottle involves a few steps. After cutting out the designs using a Cricut machine and weeding out the excess vinyl, clean the water bottle surface with rubbing alcohol. Then, use transfer tape to carefully apply the vinyl designs onto the water bottle. Make sure to press firmly to ensure proper adhesion. Allow the design to cure for 24 hours before using the water bottle. By following these steps, you can create a personalized and stylish water bottle that showcases your creativity.
What precautions should I take when using vinyl designs on items?
When using vinyl designs on items like water bottles, it is important to take certain precautions to ensure longevity. After applying the vinyl designs, allow them to cure for 24 hours before using the item. Additionally, make sure to handwash the item instead of soaking, microwaving, or dishwashing it. By following these precautions, you can maintain the quality and appearance of the vinyl designs on your items for an extended period.
Where can I find SVG images for custom designs?
SVG images for custom designs can be found on Auntie Tay's website. By visiting the website, you can browse through a variety of SVG images that can be used for creating personalized designs. Once you have selected the desired images, you can upload them to Cricut Design Space, ungroup them, and customize the designs to suit your preferences. With a wide range of SVG images available, Auntie Tay's website is a great resource for those looking to create unique and custom designs for various items.
Related videos

Daisy Multifacetica
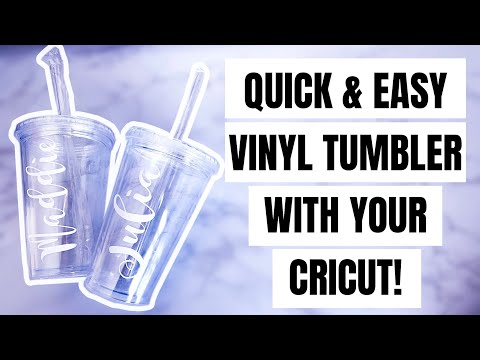
How to Personalize Skinny Tumblers with Cricut | How to Apply Permanent Vinyl to Tumblers.
The Craft Scraps
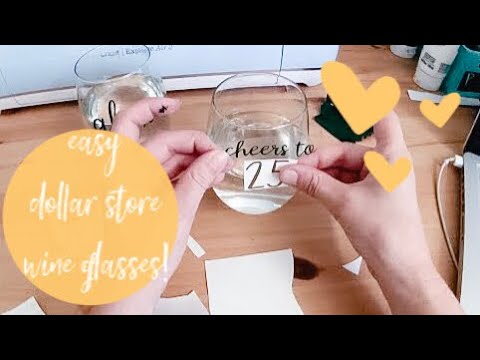
How to Make EASY DIY Wine Glasses with Your Cricut & Vinyl! Beginner friendly!

Kayla's Cricut Creations
HOW I MADE A FULL VINYL WRAP ON A LIBBEY CAN GLASS & MADE THE DESIGN IN CRICUT DESIGN SPACE
The Craft Scraps
HOW TO MAKE A VINYL PLASTIC TUMBLER WITH YOUR CRICUT | EASY GIFT IDEA!
Jennifer Maker
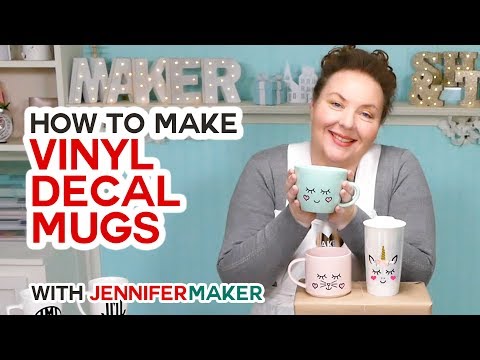
How to Put Vinyl on Mugs + Vinyl Test & Cute Designs!


Summary
00:00
Custom Water Bottle Design Using Vinyl
- To create a custom water bottle, you'll need 651 vinyl and transfer tape, which can also be used for wine glasses or tumblers.
- Upload SVG images from Auntie Tay's website, ungroup them, select the desired design, and adjust colors in Cricut Design Space.
- Change colors in Design Space to indicate which vinyl to use for each part of the design.
- Size the design to fit your water bottle, save the project, and proceed to cutting on different colored vinyl mats.
- Load the vinyl mats into the Cricut machine, set the material to vinyl, and cut the designs.
- Weed out the excess vinyl, clean the water bottle surface with rubbing alcohol, and apply the vinyl designs using transfer tape.
- Allow the design to cure for 24 hours before using, ensuring handwashing and avoiding soaking, microwaving, or dishwashing for longevity.


