🔥 BURN PICTURES & DESIGNS INTO WOOD WITH ANY CRICUT CUTTING MACHINE | CRICUT TUTORIAL FOR BEGINNERS
Mr. Crafty Pants・21 minutes read
A tutorial on how to burn images into wood using a Cricut cutting machine and ammonium chloride solution, with safety precautions and step-by-step instructions provided. An SVG file is uploaded to Cricut Design Space, cut from permanent vinyl, and applied to the wood disc with the chemical solution for a unique and intricate design.
Insights
- Using an ammonium chloride solution mixed with water and applied with heat allows for burning designs into wood without a branding iron or wood burning kit, creating a chemical reaction for a unique effect.
- Safety precautions, such as wearing gloves, a mask, and safety goggles, are crucial when working with the ammonium chloride solution to ensure personal safety and prevent any potential harm.
Get key ideas from YouTube videos. It’s free
Recent questions
How can I burn images into wood without a branding iron?
By using an ammonium chloride solution mixed with water and applied with heat, a chemical reaction can be created to burn designs into wood without the need for a branding iron.
What materials are needed for burning images into wood?
To burn images into wood, you will need a wooden disc, handles for a serving tray, permanent adhesive vinyl for stencils, medium tack transfer tape, and Minwax Wood Finishing Cloths.
How can I enter the Craftoween episode giveaway?
To enter the Craftoween episode giveaway, join the texting community by texting 502-878-7189, watch Craftoween episodes, note code words, form a Halloween phrase, and text it to the provided number.
What safety precautions should I take when using the ammonium chloride solution?
It is recommended to wear gloves, a mask, and safety goggles when using the ammonium chloride solution to burn designs into wood to ensure safety and prevent any potential harm.
Where can I find the design to burn into the wood?
You can find the design to burn into the wood by obtaining an SVG file from designbundles.net, which can be uploaded to Cricut Design Space for the burning process.
Related videos

Jennifer Maker
How to Burn Designs Into Wood using your Cricut!

Kayla's Cricut Creations
HOW TO TURN A ONE LAYER IMAGE INTO MULTIPLE LAYERS IN CRICUT DESIGN SPACE TO GET DIFFERENT COLORS

Mr. Crafty Pants
HOW TO CREATE AN SVG | HOW TO CHANGE A SINGLE LAYER IMAGE TO MULTIPLE LAYERS IN CRICUT DESIGN SPACE

Kayla's Cricut Creations
HOW I MADE A FULL VINYL WRAP ON A LIBBEY CAN GLASS & MADE THE DESIGN IN CRICUT DESIGN SPACE
Jennifer Maker
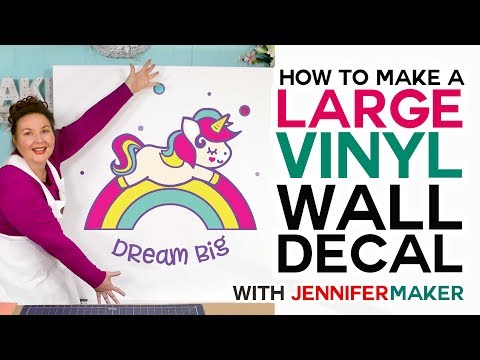
Make a Large Vinyl Wall Decal - How to Cut Larger Than Mat on a Cricut!


Summary
00:00
"Burn Images into Wood with Cricut"
- Tutorial for burning images into wood without a branding iron or wood burning kit using a Cricut cutting machine and other supplies.
- Craftoween episode giveaway includes a Cricut Maker bundle with vinyl, transfer tape, weeding tool, and squeegee.
- To enter the giveaway, join the texting community by texting 502-878-7189, watch Craftoween episodes, note code words, form a Halloween phrase, and text it.
- Materials needed for the project include a wooden disc, handles for a serving tray, permanent adhesive vinyl for stencils, medium tack transfer tape, and Minwax Wood Finishing Cloths.
- Ammonium chloride solution mixed with water and applied with heat creates a chemical reaction to burn designs into wood.
- Safety precautions like gloves, mask, and safety goggles are recommended when using the ammonium chloride solution.
- Mixing ammonium chloride solution with Thick-It food thickener prevents seepage under stencils for a cleaner burn.
- An SVG file from designbundles.net is used for the design to burn into the wood.
- In Cricut Design Space, upload the SVG file, group layers, weld them into one, and resize to fit the wooden disc using a circle template.
- Changing the color of the template to brown helps visualize the final project, but it is optional.
12:09
"Vinyl Design Transfer on Wooden Disc"
- The padlock locks in the proportions, changing the height to 15 inches.
- Right-click the image, select Send to Back, and resize it to fit the disc using the resize handle.
- Delete the template by clicking the red X, then select Make It.
- Set permanent vinyl to premium vinyl for cutting, using a Cricut Explore device or browsing materials.
- After cutting, peel the mat away from the vinyl slowly.
- Weed out the design in reverse, leaving what is usually removed and removing what is usually kept.
- Apply the design to transfer tape, then to the wooden disc, using a squeegee tool.
- Mix ammonium chloride, Thick-It, and hot water, apply the mixture to the stencil on the disc, let it dry, then peel off the stencil and heat it with a heat gun.


