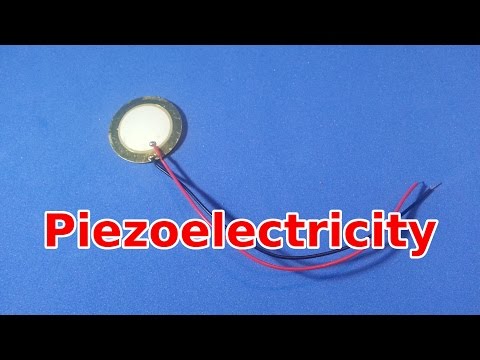
how to make Piezoelectric Generator | PIEZO ELECTRICITY GENERATION | Piezo footstep power generator
Electronic Clinic・6 minutes read
The episode explains the process of visual electric sensor-based power generation through PCB drilling and the use of a piezoelectric sensor to eliminate negative voltages and connect multiple sensors in parallel. It covers PCB design settings, acid etching, and drilling techniques involving a 12V drill machine and the rectification of voltage using a bridge rectifier for a complete circuit setup.
Insights
- **Piezoelectric sensors** are crucial in generating voltage through pressure, rectifying it using a bridge rectifier, and incorporating diodes and capacitors for an effective circuit setup.
- **PCB drilling** involves intricate steps such as using a small drill machine, applying normal downward force, and ensuring power requirements of 12V and 500mA, emphasizing precision and attention to detail in the process.
Get key ideas from YouTube videos. It’s free
Recent questions
How does a piezoelectric sensor generate voltage?
A piezoelectric sensor generates voltage through pressure applied to it. When mechanical stress is exerted on the sensor, it produces an electric charge, converting mechanical energy into electrical energy. This phenomenon allows the sensor to generate voltage that can be harnessed for various applications.
What is the purpose of a bridge rectifier in a circuit?
A bridge rectifier is used in a circuit to convert alternating current (AC) into direct current (DC). It consists of four diodes arranged in a specific configuration that allows it to rectify the AC signal, ensuring that the output voltage is always positive. This component is crucial for eliminating negative voltages and ensuring a steady flow of current in the circuit.
How can multiple sensors be connected in parallel?
Multiple sensors can be connected in parallel by linking the positive terminals of all sensors together and the negative terminals together. This configuration allows the sensors to operate simultaneously, with each sensor contributing to the overall output of the circuit. Connecting sensors in parallel increases the sensitivity and efficiency of the system, enabling it to detect and respond to a wider range of stimuli.
What is the significance of etching PCBs in electronics?
Etching PCBs (Printed Circuit Boards) is a crucial step in electronics manufacturing as it involves removing unwanted copper from the board to create the desired circuit pattern. This process is essential for transferring designs onto copper plates accurately, ensuring that the electrical connections are precise and reliable. By etching PCBs, manufacturers can create custom circuit layouts that meet specific design requirements, enabling the efficient functioning of electronic devices.
How does a drill machine work in PCB drilling?
A drill machine used in PCB drilling operates by rotating a drill bit at high speeds to create precise holes in the circuit board. The machine requires a power supply of 12V and 500mA to function effectively. During the drilling process, a normal downward force is applied to the drill bit to penetrate the board and create holes for components. This process is essential for assembling electronic circuits and ensuring that components are securely mounted on the PCB for optimal performance.
Related videos

GreatScott!
Does Energy Harvesting make any sense?! (Experiment)
Ludic Science
Piezoelectric Generator

Electronics Repair Basics_ERB
All electronic components names, functions, testing, pictures and symbols - smd components

Jeremy Fielding
Building and Reviewing Free Energy Generators on YouTube.

Science Max - 9 Story
What Is Electricity? | FULL EPISODE COMPILATION | Science Max


Summary
00:00
"Visual Sensor Power Generation and PCB Drilling"
- The episode focuses on visual electric sensor-based power generation, teaching PCB drilling, using a piezoelectric sensor, eliminating negative voltages, and connecting multiple sensors in parallel.
- Part 1 covers PCB design settings, transferring designs onto copper plates, preparing ferric chloride acid solution, and etching PCBs.
- The drilling process involves using a small drill machine requiring 12V and 500mA, inserting a drill bit, and applying normal downward force while drilling.
- The piezoelectric sensor generates voltage through pressure, which can be rectified using a bridge rectifier to eliminate negative voltages, along with diodes and capacitors for a complete circuit setup.


